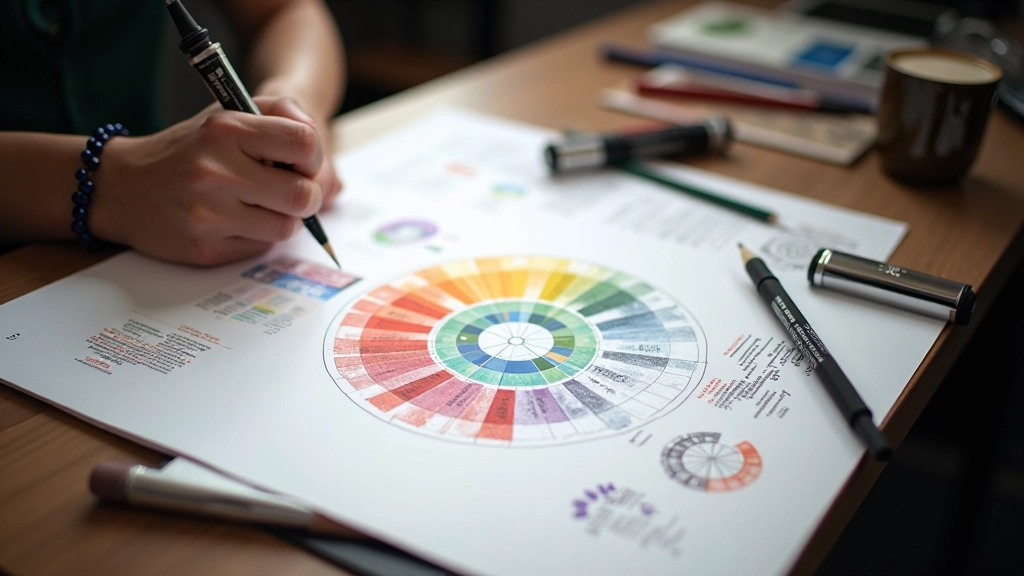
Vector Art Basics: Getting Started With Paths and Shapes
Learn how vector graphics work differently from raster images. We’ll cover the essentials of paths, anchor points, and shape manipulation.
There’s a learning curve with digital tools, but it’s totally manageable. We break down brush selection, layer management, and workflow tips that actually make a difference. Whether you’re starting out or refining your technique, you’ll find practical guidance that works.
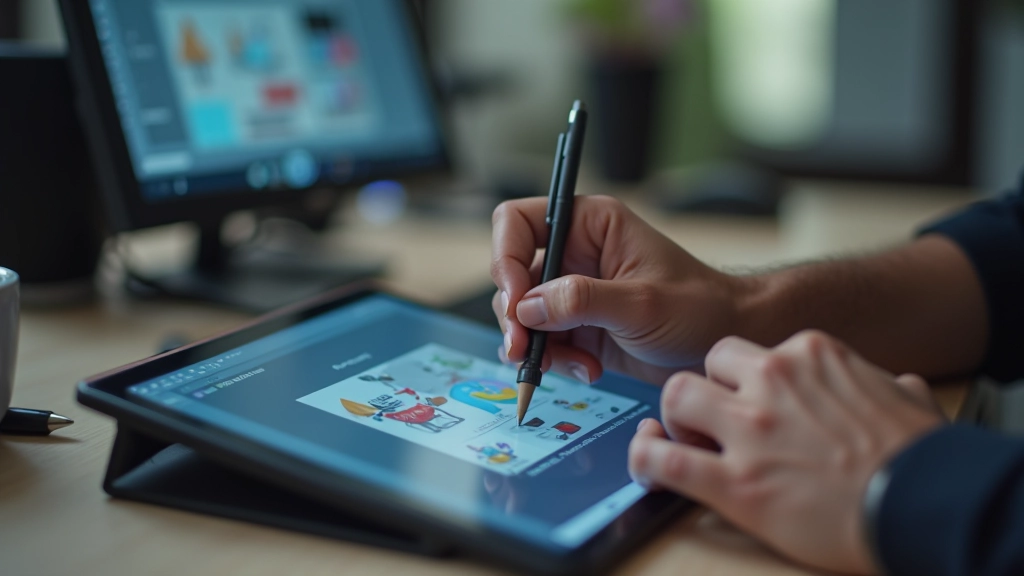
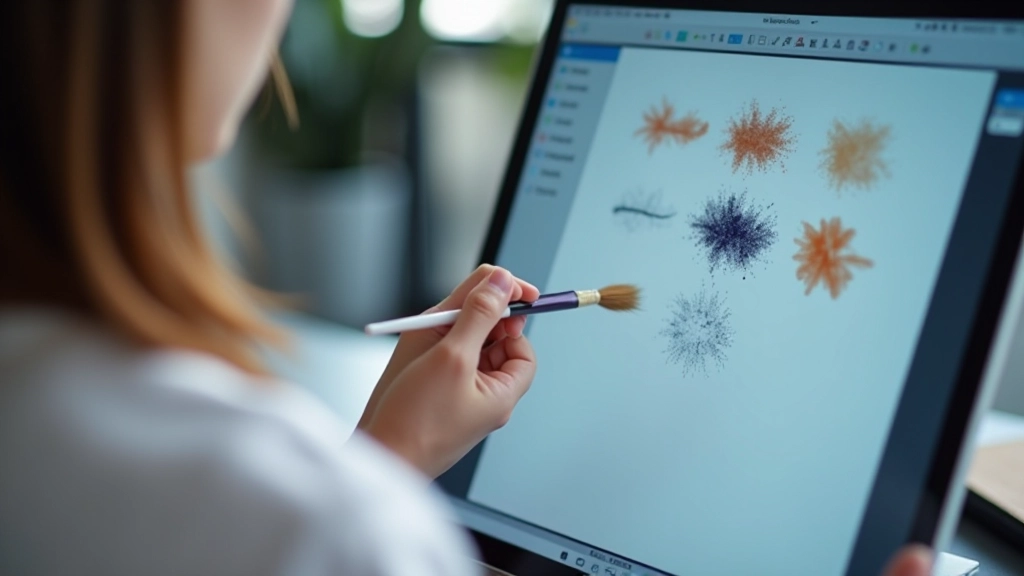
Digital brushes aren’t like traditional ones — they’re more flexible and powerful. You’re not limited by bristle shape or paint consistency. Instead, you’ve got hundreds of brush types at your fingertips, each with adjustable settings that change how they respond to pressure, angle, and speed.
The real skill isn’t memorizing brush settings. It’s understanding how pressure sensitivity, opacity, and flow work together. Get these fundamentals down, and you’ll adapt to any software quickly. Most artists spend their first month experimenting, then settle into 4-5 favorite brushes they use for 80% of their work.
You don’t need a massive brush library. Start with three categories: textured brushes for base work, smooth brushes for clean lines, and specialty brushes for effects. Most professional illustrators rely on maybe 6-8 brushes total for their main work.
Here’s what matters: brush size, hardness, and opacity response. A hard round brush with 100% opacity gives you control for detail work. A textured brush at 50-70% opacity is great for loose background elements. Don’t overthink it — pick brushes that feel natural to your hand and build from there.
Layer management separates amateurs from professionals. You’ll want a system that lets you work fast without getting lost in 47 unnamed layers. Start with these core layers: sketch, line art, base colors, mid-tones, highlights, and effects.
Name everything. Use folders to group related layers. Put your sketch layer at the top with reduced opacity so you can reference it while painting. Keep adjustment layers separate from painting layers — this gives you flexibility to tweak color and contrast without destroying your brushwork.
Most digital artists work with 15-25 active layers on a finished piece. If you’re over 50, you’re probably duplicating layers unnecessarily. Learn to use clipping masks and blend modes instead — they’ll save you hundreds of layers and make edits way faster.
Layering creates dimension. You’re not just stacking images on top of each other — you’re using opacity, blend modes, and color to suggest depth. The key is understanding how foreground, mid-ground, and background elements interact.
You’ll develop your own rhythm, but here’s what works for most digital artists. It’s not complicated — just consistent practices that save time and frustration.
Learn the keyboard shortcuts for your software. Bracket keys to resize brushes, alt+drag to pick colors, Z to zoom. You’ll work 30% faster once these become muscle memory.
Save versions as you work. Use .v1, .v2, .v3 naming. You’ll thank yourself when you want to go back to an earlier version without losing your current progress.
Every 20 minutes, zoom to 100% or view your whole canvas. Your brain gets used to the zoomed view and misses proportion problems that are obvious at full size.
Calibrate your stylus pressure curve. Most tablets default to settings that don’t match how you naturally hold a pen. Spend 10 minutes adjusting this — it’ll make every brushstroke feel better.
This article provides educational information about digital drawing techniques and software workflows. The methods described reflect common industry practices and what’s worked for professional artists in Malaysia’s creative scene. Your experience may vary depending on your software, hardware, and personal artistic style. Digital tools update frequently — features and interface elements may change. Always consult your software’s official documentation for current features and capabilities.
Digital drawing isn’t magic — it’s understanding tools and practice. Start with one software, master the basics, then branch out. You’ll develop your own shortcuts and preferences. What matters is consistency. Spend time with your brushes, experiment with layers, and don’t be afraid to mess up. That’s how you learn.
The artists you admire didn’t start with perfect technique. They started where you are now, making mistakes and learning from them. Your unique style will develop as you work, not before. So stop planning and start creating.